
Mastering Floor Tile Installation Techniques: Your Ultimate Floor Tiling Procedure Guide
Installing floor tiles can transform any space, adding style and durability. When done right, it elevates your home’s look and value. But mastering the floor tiling procedure takes some know-how and patience. I’m here to walk you through the essential steps and tips to help you achieve a professional finish. Whether you’re tackling a small bathroom or a large kitchen, this guide will make the process clear and manageable.
Understanding the Floor Tiling Procedure: Getting Started
Before you pick up a trowel, preparation is key. The success of your tile project depends on how well you prep the surface and plan the layout.
Assess the Subfloor: Your floor must be clean, dry, and level. Uneven surfaces cause tiles to crack or pop loose. Use a level to check for dips or bumps. If needed, apply a self-leveling compound.
Gather Tools and Materials: You’ll need tiles, thin-set mortar, a notched trowel, spacers, a tile cutter, grout, a sponge, and a bucket.
Plan Your Layout: Measure the room and mark the center point. Dry-lay a row of tiles along the center lines to see how they fit. Adjust to avoid tiny slivers of tile at edges.
Taking time here saves headaches later. A well-prepared floor and a smart layout make the installation smoother and the results better.

Step-by-Step Floor Tiling Procedure: From Start to Finish
Now that you’re ready, let’s dive into the actual floor tiling procedure. Follow these steps carefully for a flawless finish.
Mix the Thin-Set Mortar
Follow the manufacturer’s instructions. The mortar should be creamy and easy to spread but not runny.
Apply Mortar to the Floor
Use the flat side of the trowel to spread mortar over a small section. Then, use the notched side to create grooves. These grooves help the tiles stick better.
Lay the Tiles
Press the first tile firmly into the mortar at the center point. Place spacers between tiles to keep even gaps for grout. Continue laying tiles, working outward.
Cut Tiles to Fit Edges
Use a tile cutter or wet saw to trim tiles for edges and corners. Measure carefully to avoid mistakes.
Let Mortar Set
Allow the mortar to dry for at least 24 hours before walking on the tiles.
Apply Grout
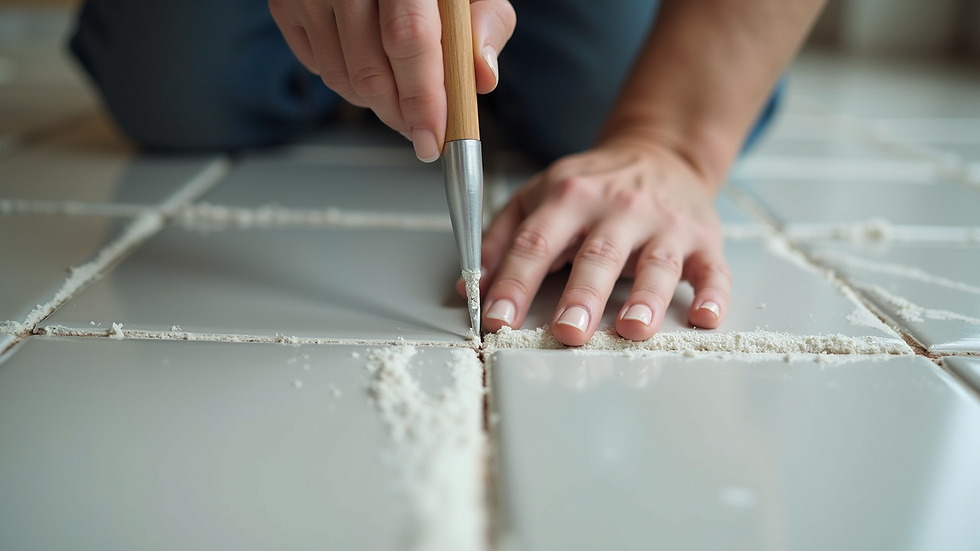
Remove spacers and spread grout over the tiles with a rubber float. Press grout into gaps and wipe off excess with a damp sponge.
Final Cleaning
After grout dries, polish tiles with a clean cloth to remove haze.
This step-by-step approach ensures your tiles are secure and your floor looks great.
Tips for a Durable and Beautiful Tile Floor
A few extra tips can make a big difference in the longevity and appearance of your tile floor.
Choose the Right Tile: Porcelain and ceramic tiles are popular for floors. Porcelain is denser and more water-resistant, ideal for bathrooms and kitchens.
Use Quality Materials: Don’t skimp on mortar or grout. High-quality products last longer and resist cracking.
Maintain Consistent Spacing: Spacers keep grout lines even, which looks professional and prevents tiles from shifting.
Seal the Grout: After the grout cures, apply a grout sealer to protect against stains and moisture.
Work in Small Sections: This prevents mortar from drying out before you place tiles.
By following these tips, you’ll enjoy a floor that stays beautiful and functional for years.
Common Challenges and How to Overcome Them
Even with careful planning, you might face some challenges. Here’s how to handle the most common ones:
Uneven Subfloor: If you notice tiles rocking after installation, the subfloor wasn’t level. Use a leveling compound before starting.
Cutting Tiles: Cutting tiles can be tricky. Practice on scrap pieces first. Use a wet saw for clean cuts on porcelain.
Mortar Drying Too Fast: Work in small areas and keep mortar covered if you take breaks.
Grout Cracking: This often happens if tiles move. Ensure the mortar is fully dry and use flexible grout if needed.
Don’t get discouraged by setbacks. Each problem has a solution, and learning from them improves your skills.
Enhancing Your Space with Expert Floor Tiling Procedure
Mastering the floor tiling procedure opens up many possibilities for home improvement. A well-installed tile floor adds elegance and durability to any room. It’s also easier to clean and maintain than many other flooring options.
If you want to ensure the best results, consider consulting professionals who specialize in tile work. They bring experience and precision that can save time and avoid costly mistakes. For those ready to take on the project themselves, this guide provides a solid foundation.
Remember, the key to success is preparation, patience, and attention to detail. With these in hand, you’ll create a stunning floor that enhances your home’s beauty and value.
For those interested in professional help, floor tile installation services can provide expert craftsmanship and peace of mind.
Mastering floor tile installation is a rewarding skill that transforms your living space. Whether you do it yourself or hire a pro, understanding the process helps you make informed decisions and appreciate the craftsmanship involved. Take your time, follow the steps, and enjoy the lasting beauty of your new tile floor.


Comments