
Mastering Floor Tile Installation for a Perfect Finish
- evanstile
- Oct 13, 2025
- 4 min read
Installing floor tiles can transform any space, adding beauty and durability. However, achieving a flawless finish requires careful planning, the right tools, and proper techniques. This guide will walk you through the essential steps to master installing floor tiles efficiently, ensuring your project looks professional and lasts for years.
Preparing Your Space for Installing Floor Tiles Efficiently
Before you start laying tiles, preparation is key. A well-prepared surface ensures tiles adhere properly and prevents future issues like cracking or unevenness.
Clean the floor thoroughly: Remove all dirt, grease, and debris. Use a vacuum and mop to ensure the surface is spotless.
Check for levelness: Use a spirit level to identify any dips or high spots. Uneven floors can cause tiles to crack or pop loose.
Repair imperfections: Fill cracks and holes with a suitable patching compound. Allow it to dry completely.
Remove old flooring: If you have carpet, vinyl, or old tiles, remove them to expose the subfloor.
Dry the surface: Moisture can affect tile adhesion, so ensure the floor is dry before proceeding.
Taking these steps will create a solid foundation for your tile installation.

Tools and Materials Needed for Installing Floor Tiles Efficiently
Having the right tools and materials on hand will make your project smoother and more efficient. Here’s a checklist of essentials:
Tiles: Choose the type and size that suits your space.
Tile adhesive or thin-set mortar: Select one compatible with your tile type.
Notched trowel: For spreading adhesive evenly.
Tile spacers: To maintain consistent gaps between tiles.
Tile cutter or wet saw: For precise cuts.
Level: To check tile alignment.
Rubber mallet: To gently tap tiles into place.
Grout: To fill gaps between tiles.
Sponge and bucket: For cleaning excess grout.
Measuring tape and pencil: For accurate measurements and markings.
Knee pads: To protect your knees during installation.
Organize your tools before starting to avoid interruptions.

What do you put under tile before laying it?
Choosing the right underlayment is crucial for a durable tile floor. The underlayment provides a smooth, stable surface and can help with moisture control and soundproofing.
Cement backer board: A popular choice for most tile installations. It is water-resistant and provides a solid base.
Uncoupling membrane: Helps prevent cracks by allowing movement between the subfloor and tiles.
Plywood: Sometimes used under tiles on wood subfloors but must be thick and properly installed.
Self-leveling compound: Used to even out uneven floors before laying tiles.
Make sure the underlayment is securely fastened and level before applying adhesive.

Step-by-Step Guide to Installing Floor Tiles Efficiently
Follow these steps to ensure a smooth and professional tile installation:
Plan your layout: Measure the room and mark the center point. Dry-lay tiles to see how they fit and adjust to avoid small cuts at edges.
Mix the adhesive: Follow manufacturer instructions for the right consistency.
Apply adhesive: Use the notched trowel to spread adhesive on a small section of the floor.
Lay the tiles: Press tiles firmly into the adhesive, using spacers to maintain even gaps.
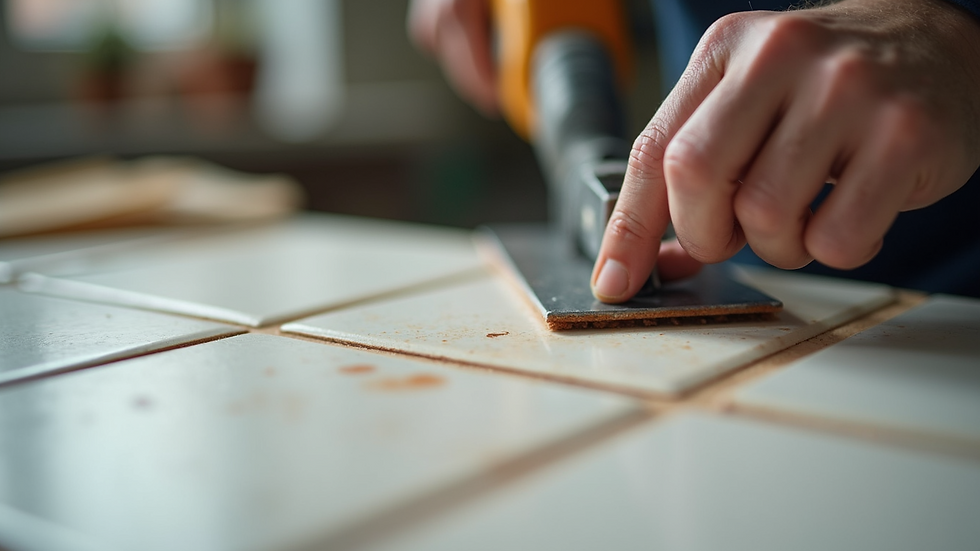
Cut tiles as needed: Use a tile cutter for straight cuts and a wet saw for curves or angles.
Check alignment: Use a level frequently to keep tiles flat and even.
Allow adhesive to set: Follow drying times recommended by the adhesive manufacturer.
Apply grout: Remove spacers and fill gaps with grout using a rubber float.
Clean excess grout: Wipe tiles with a damp sponge before grout hardens.
10. Seal grout: After grout dries, apply a sealer to protect against stains and moisture.
Patience and attention to detail during each step will result in a flawless finish.
Tips for Maintaining Your Newly Installed Tile Floor
Proper maintenance will keep your tile floor looking great for years:
Clean regularly: Sweep or vacuum to remove dirt and grit that can scratch tiles.
Use mild cleaners: Avoid harsh chemicals that can damage grout or tile surfaces.
Seal grout annually: This prevents stains and moisture penetration.
Address spills immediately: Wipe up liquids to avoid stains or damage.
Use protective pads: Place under furniture legs to prevent scratches.
Inspect periodically: Check for loose tiles or cracked grout and repair promptly.
Following these tips will preserve the beauty and functionality of your tile floor.
For more inspiration and professional examples of floor tile installation, explore the portfolio linked here.

Enhancing Your Skills for Future Projects
Mastering tile installation opens the door to many home improvement opportunities. Practice on small areas before tackling large rooms. Experiment with different tile patterns like herringbone or diagonal layouts to add visual interest. Consider taking a workshop or watching tutorial videos to refine your technique.
With experience, you’ll gain confidence and efficiency, making your tile projects enjoyable and rewarding. Whether renovating a kitchen, bathroom, or entryway, your skills will ensure a professional-quality finish every time.


Comments